Two installation solutions
Choose wall or table installation.
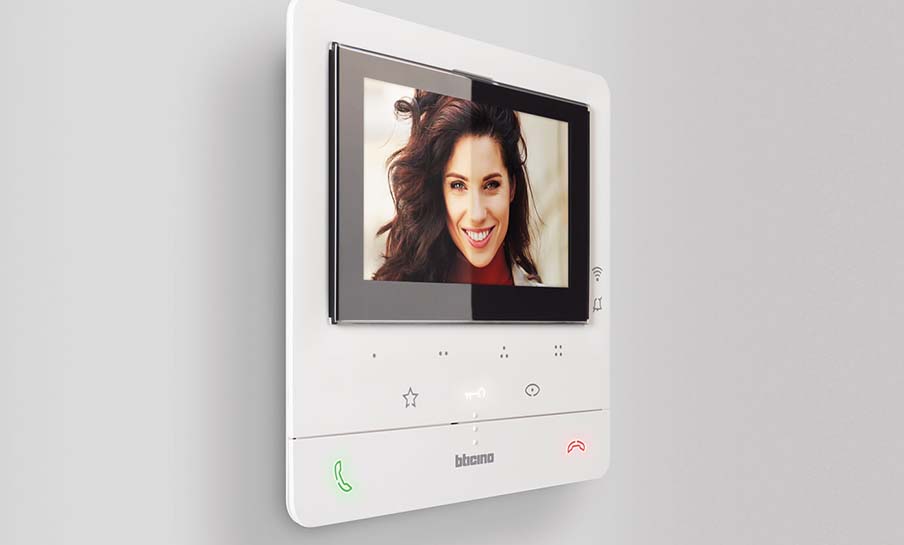
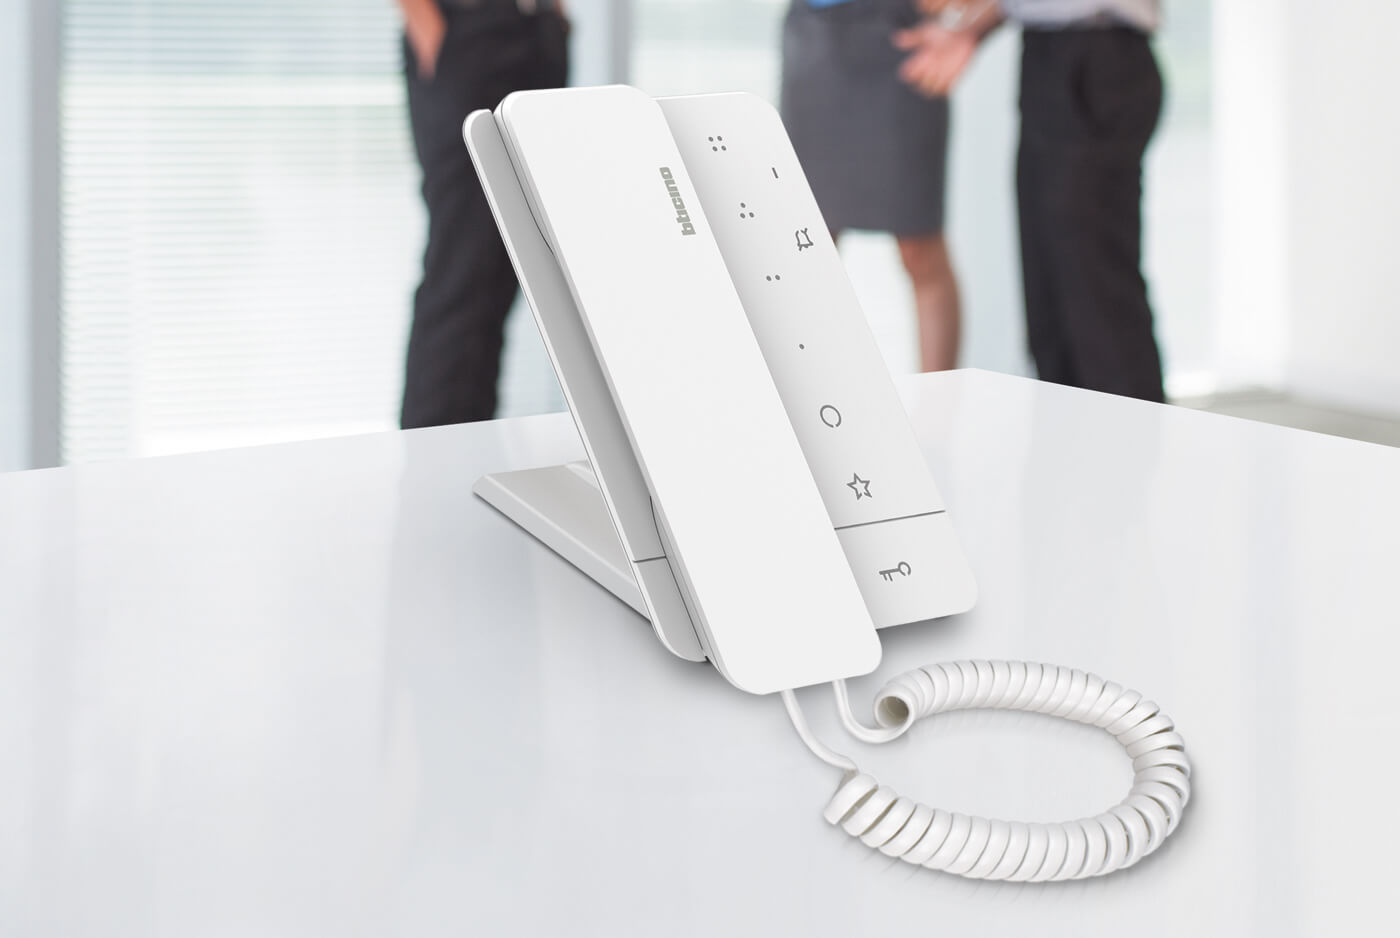
Both are available for the entire range of Classe 100 video and audio internal units.
All CLASSE 100 video internal units are wall mounted using the specific metal bracket supplied with the devices.
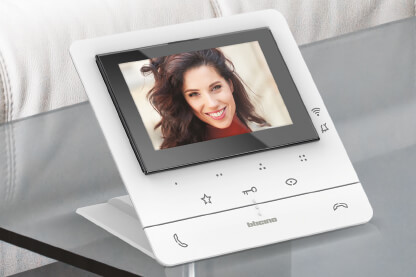
All CLASSE 100 video internal units are also suitable for table-top installation. In this case, a support, item 344692 - (2 x 344692), is required for each video internal unit.
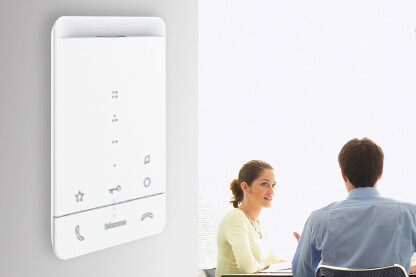
All CLASSE 100 audio internal units are wall mounted using the specific metal bracket supplied with the devices.
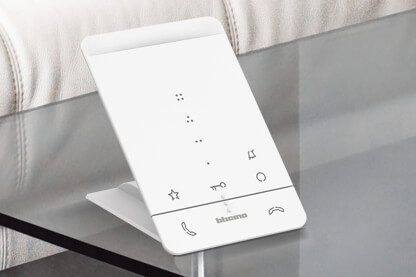
All CLASSE 100 audio internal units are also suitable for table-top installation. In this case, a support, item 344692 - (1 x 344692) is required for each video internal unit.
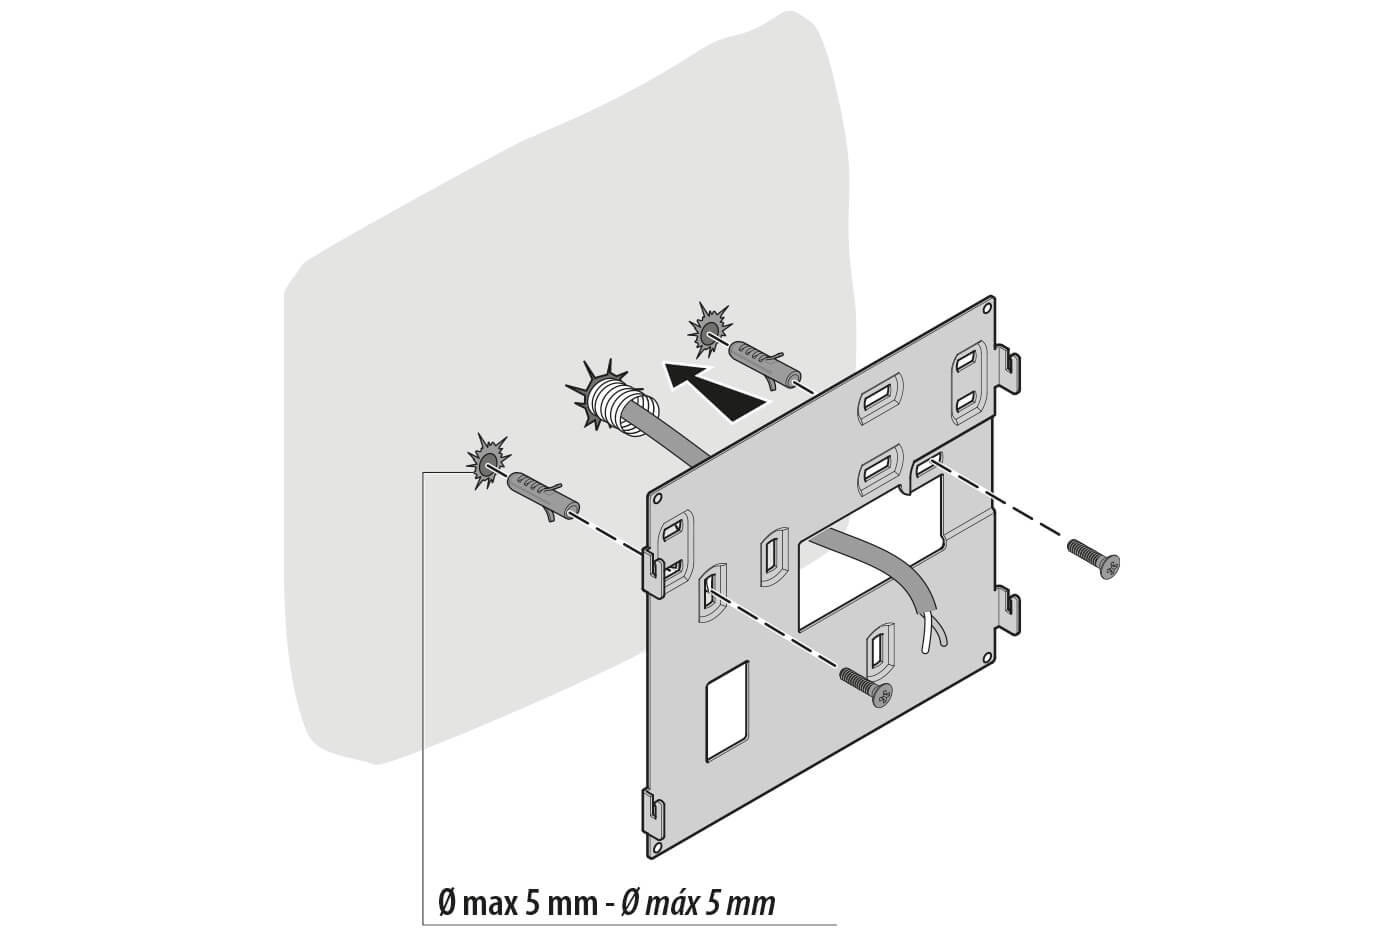
STEP 1 - Drill the holes and insert the plugs and screws to fix the bracket.
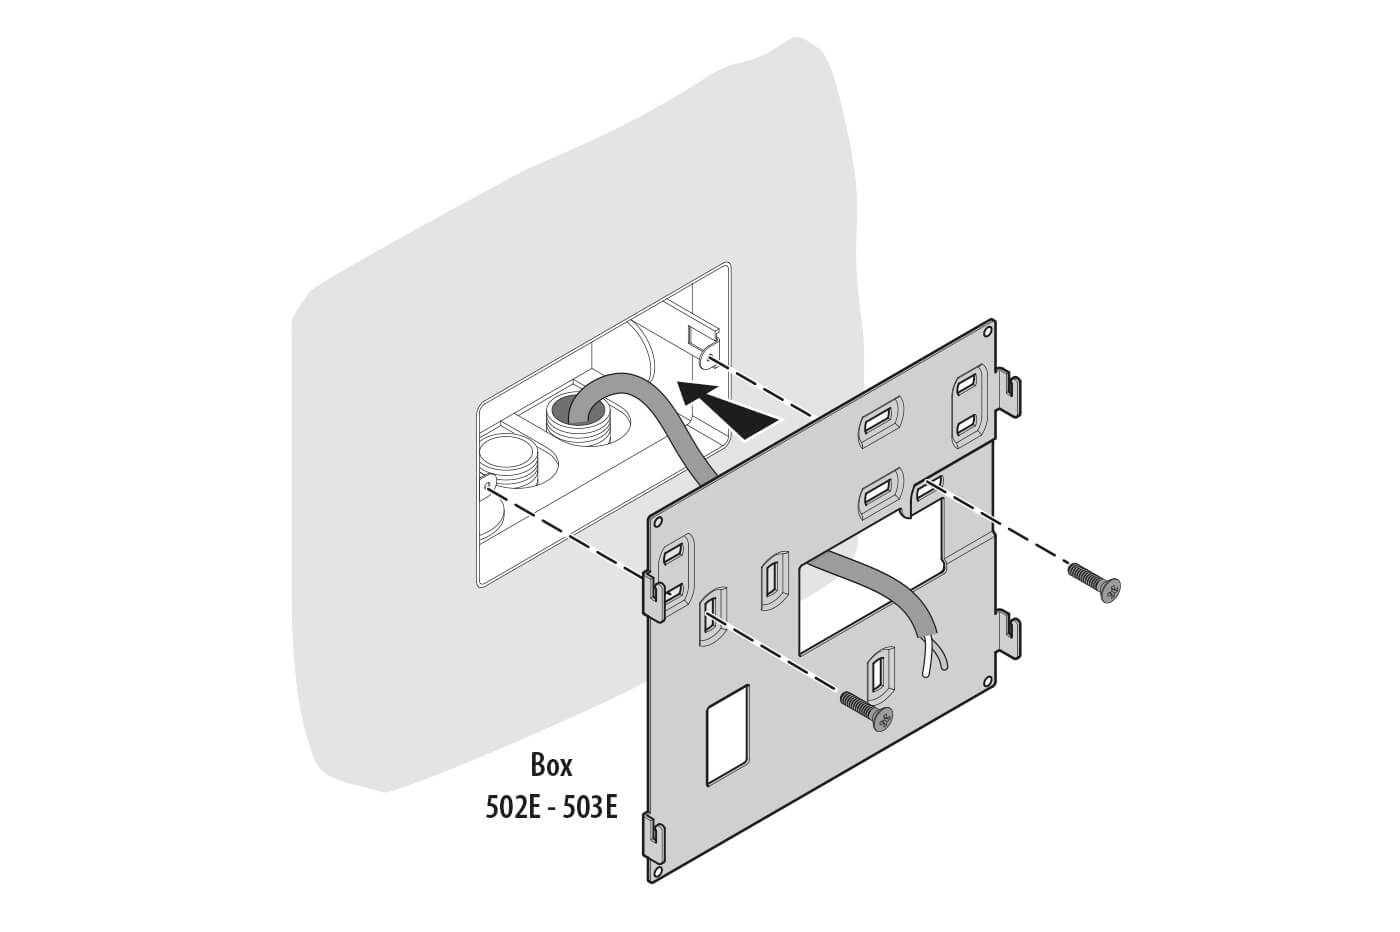
STEP 2 - Pass the BUS cable from the front through the slot in the bracket.
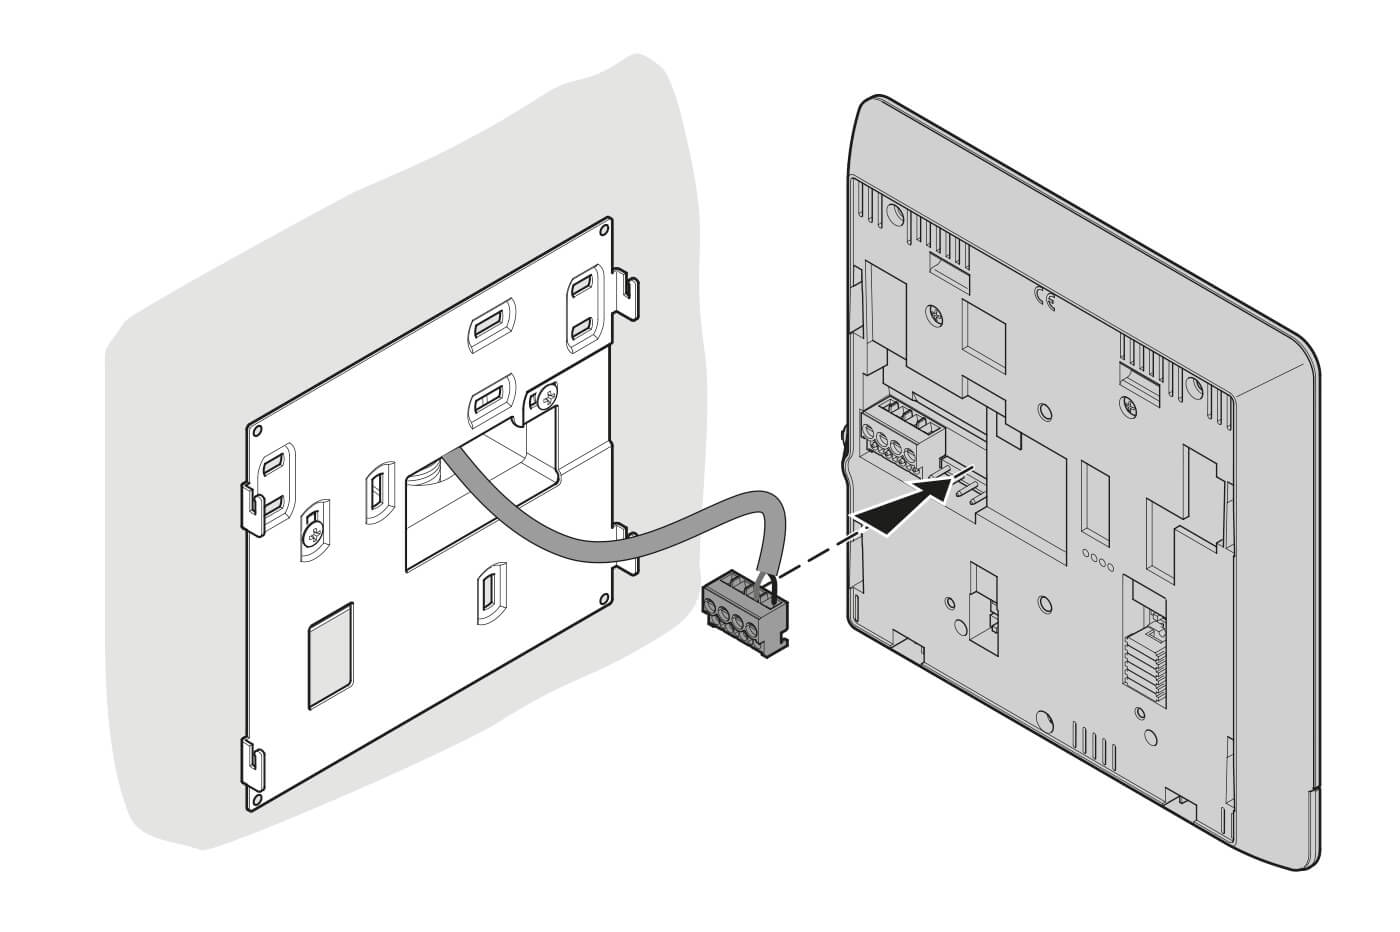
STEP 3 - Connect the two (BUS) cables to the green terminal and reposition it in its seat at the back of the video internal unit.
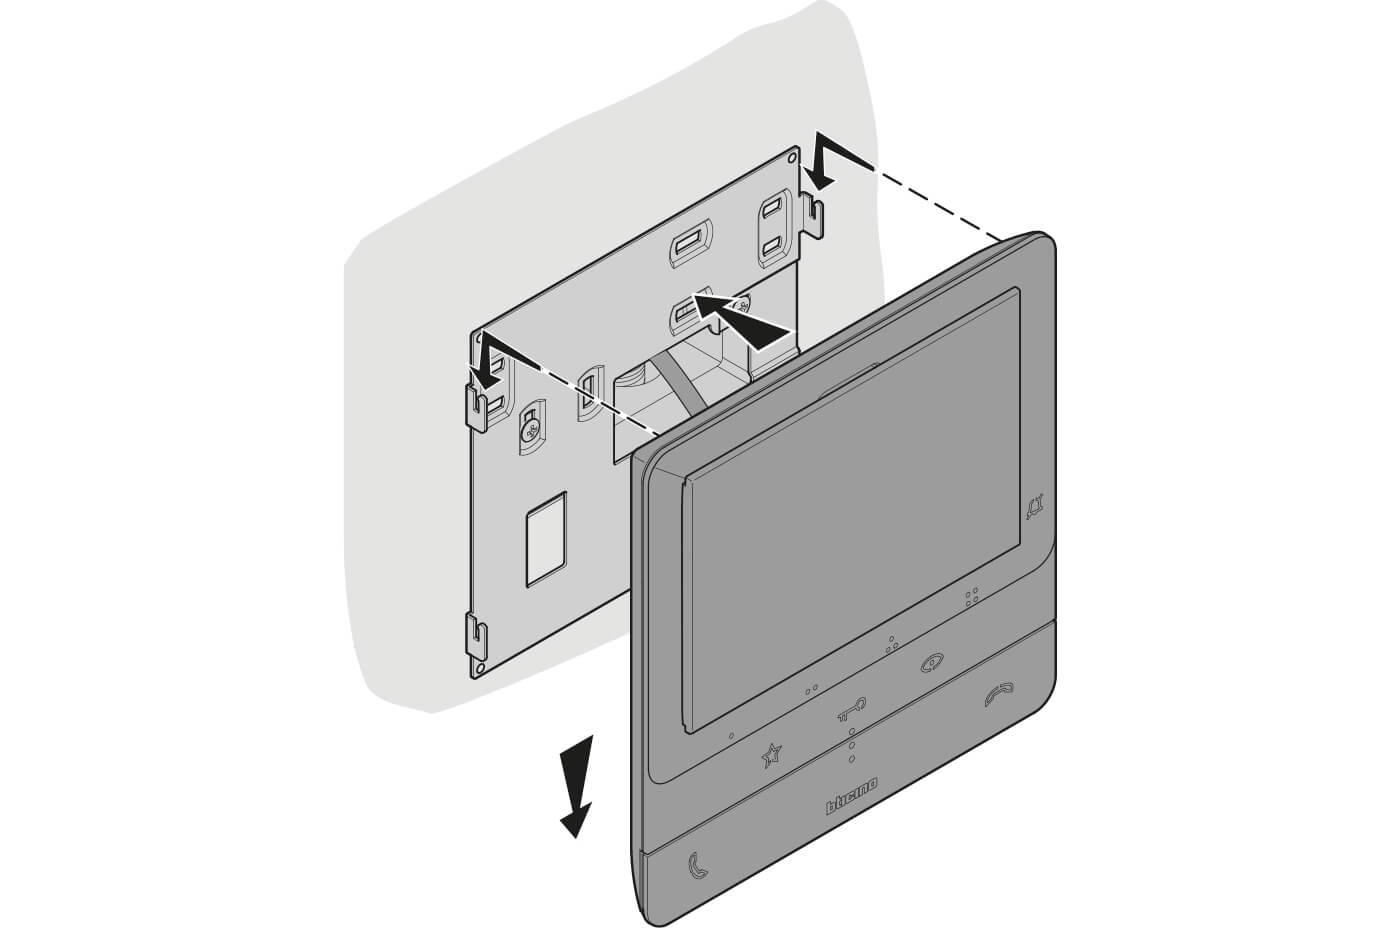
STEP 4 - Hook the video intercom onto the bracket, gently pushing it downwards.
Table-top installation
For table-top installation of CLASSE 100 audio and video internal units, the plastic support 344692 must be purchased separately. For video internal units, 2 supports 344692 are required side by side. For audio internal units, only 1 support 344692 is required.

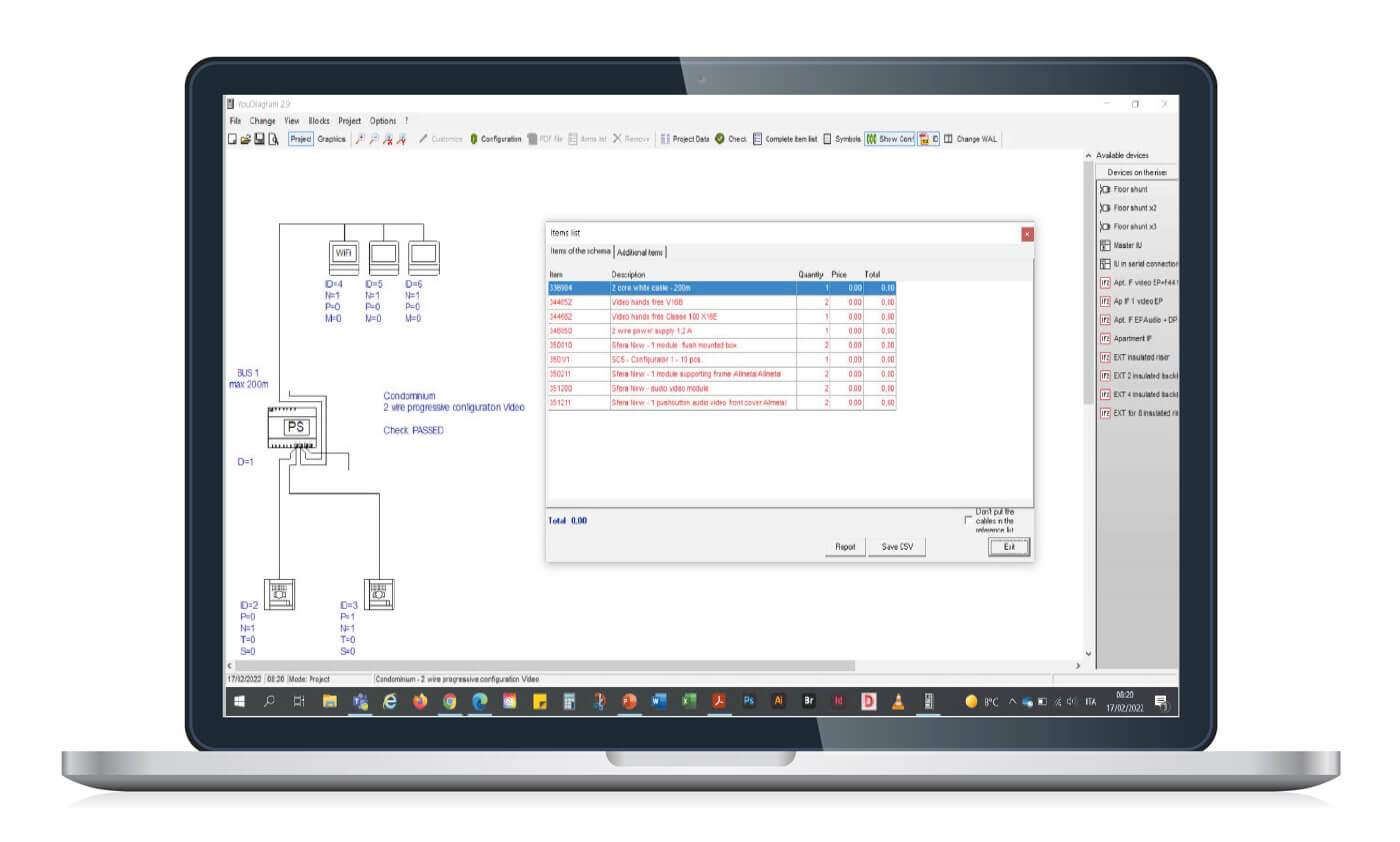
Do you need to design a new video door entry system for a villa or apartment block?
Use the video door entry system configurator.
Define your system type and the characteristics of the building in just a few steps. You will be able to choose products and functions that best suit your needs, starting from our KIT solutions. Furthermore, you will always be updated on active promotions.

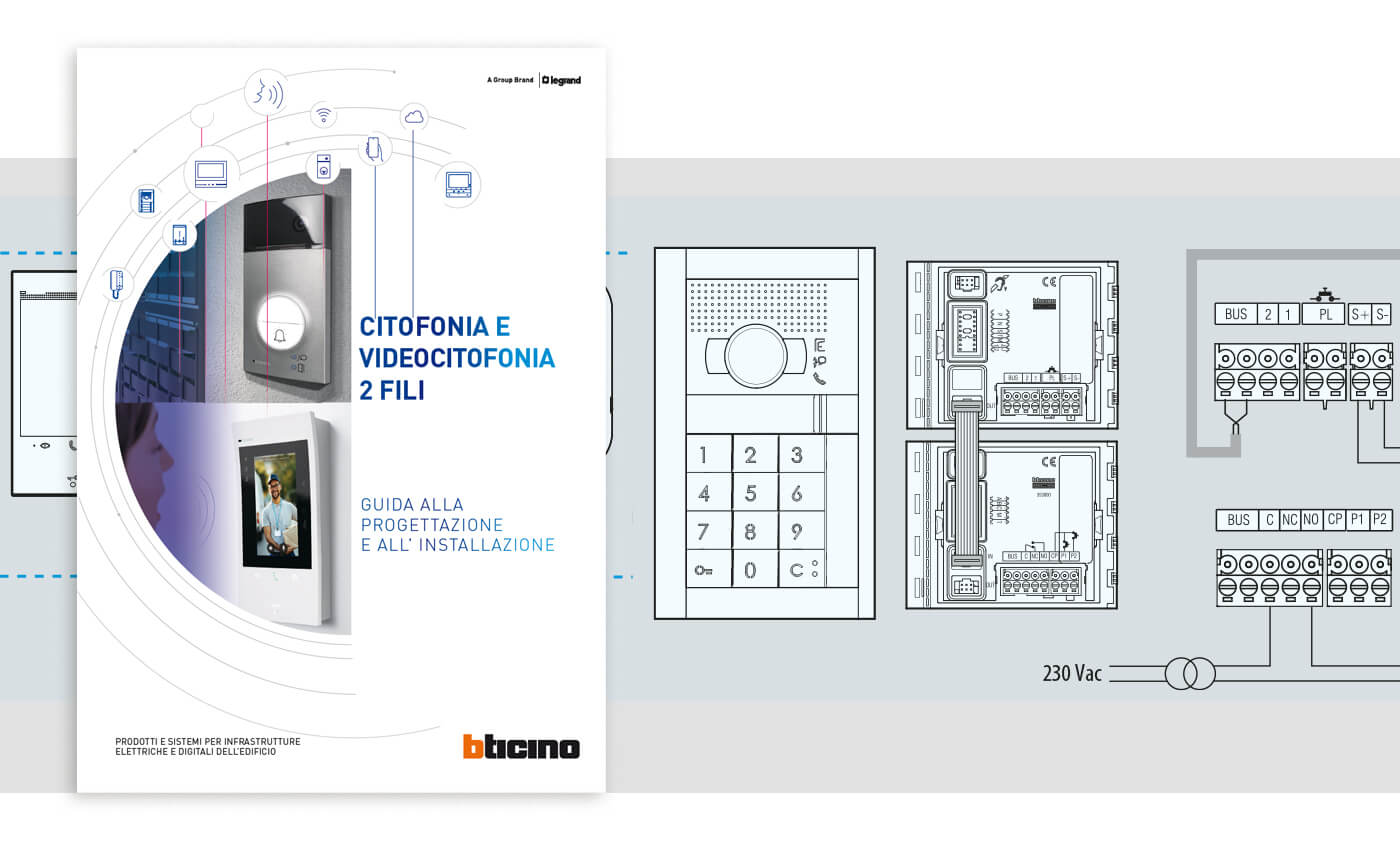
Prepare and design your system with the technical guide. An indispensable tool for the professional with all the updated technical information useful for designing, sizing, connecting, configuring and maintaining 2 wires audio and video door entry systems.
