
Installation solutions
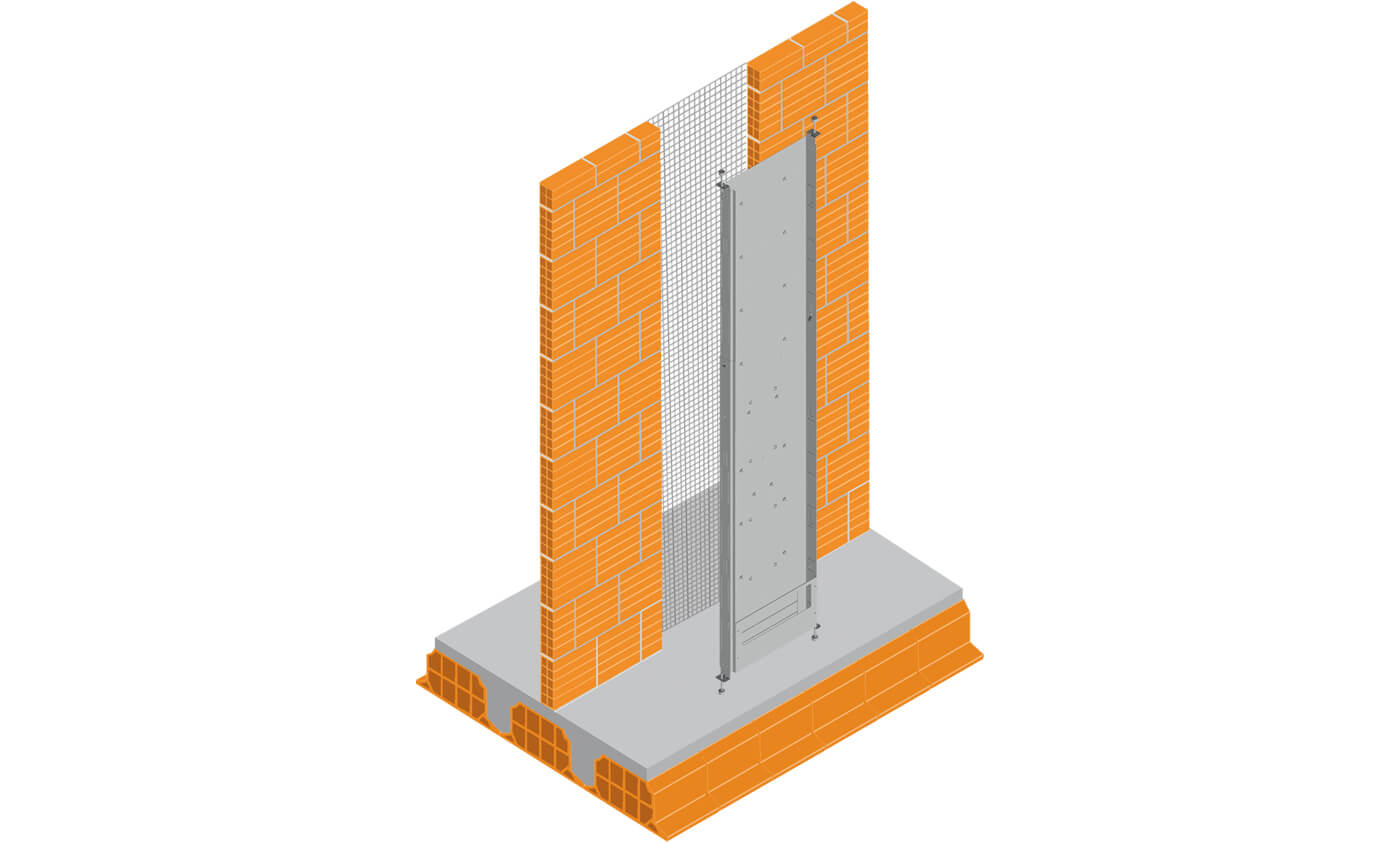
The compact sizes of the flush mounting bases, only 8.5 cm thick, make it possible to install MyHOME FLATWALL using the same procedure as for pocket sliding doors.
If installed during the construction of the wall, the metal base also allows construction material savings.
PARTITION WALLS
Leave an opening of approximately 60 cm when building the wall.
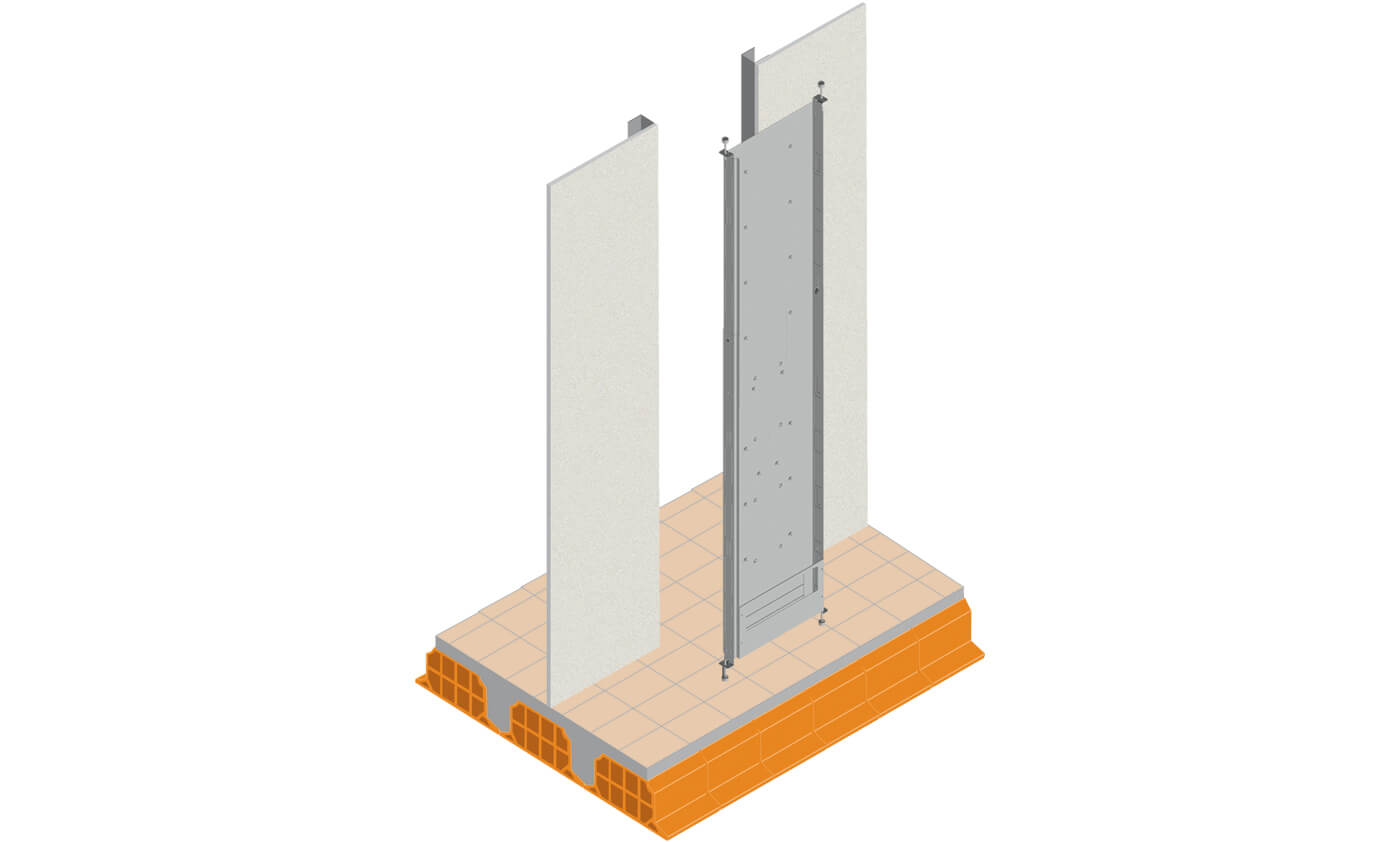
PLASTERBOARD WALLS
Leave an opening of approximately 60 cm when building the wall.
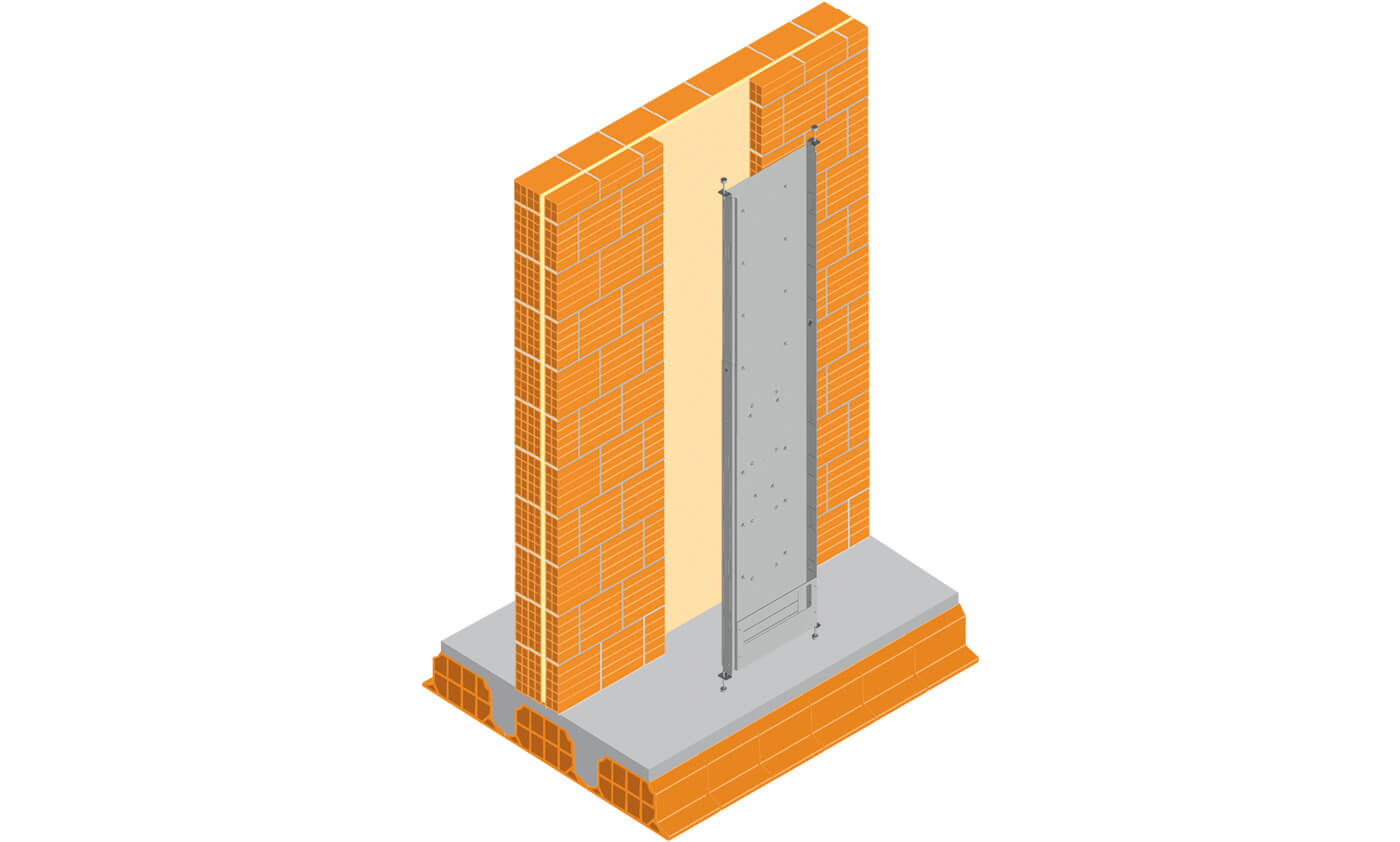
LOAD-BEARING WALLS
Cut out a recess approximately 60 cm wide, from floor to ceiling.
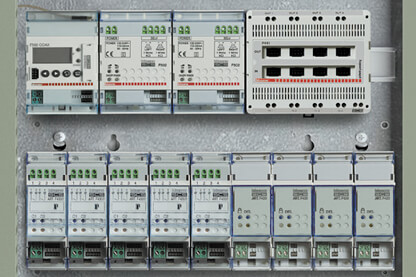
The devices can be conveniently pre-assembled, pre-wired and configured in their device supports in the workshop, and then taken to the construction site for installation.
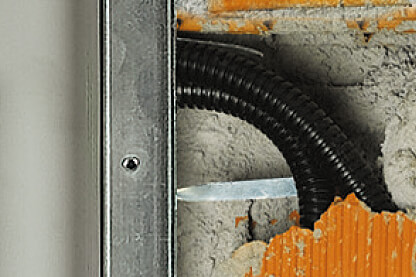
Following the instructions on the base module, install it in the wall with the corrugated pipes, securing everything in place with cement or foam resin depending on the wall.

As devices generate heat, it is advisable to place those that generate more heat (power supplies, dimmers) at the bottom and those that generate less at the top.
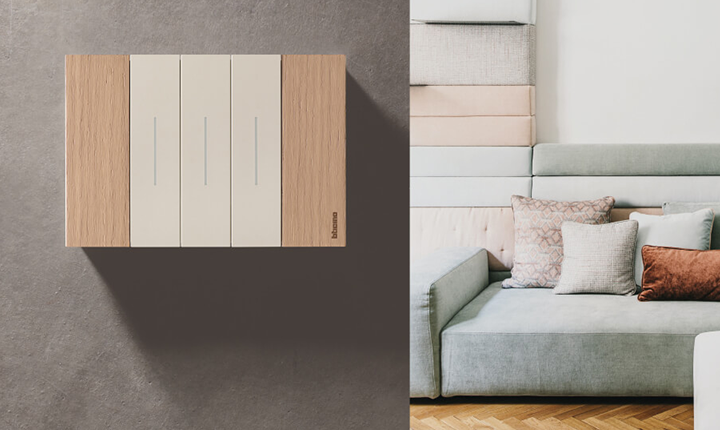
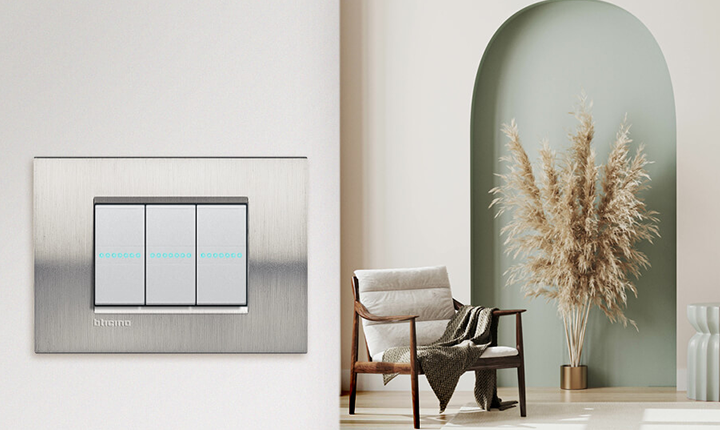
The user-accessible device panels are reversible; the side with the hinges can be secured either to the right or to the left, so that the door can be opened from the more convenient and functional side.


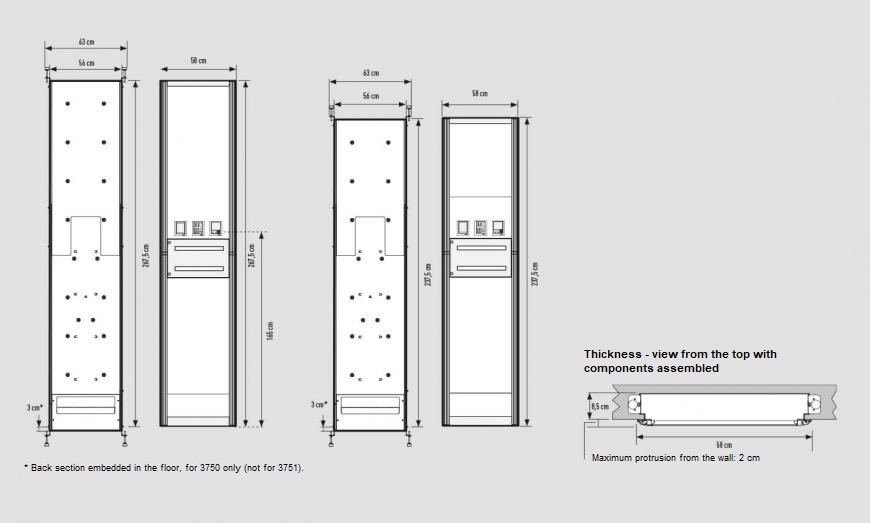
MY HOME FLATWALL 240 - 270
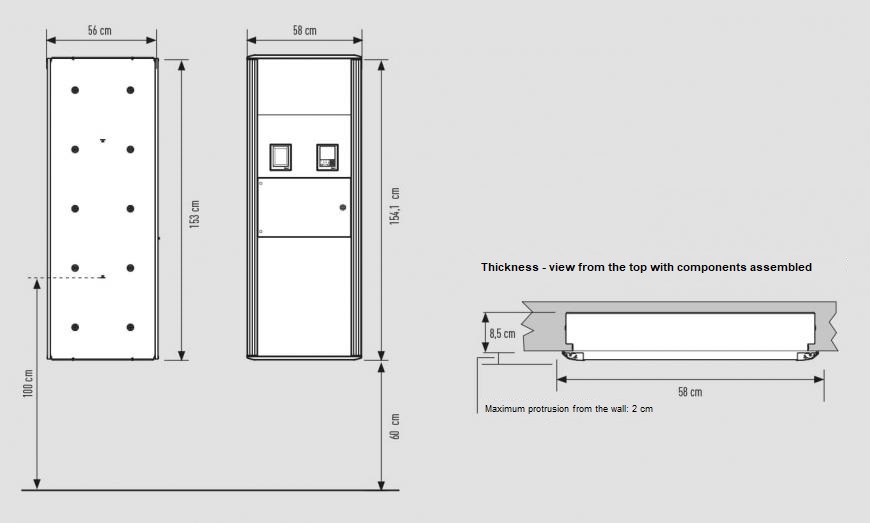
MY HOME FLATWALL 150

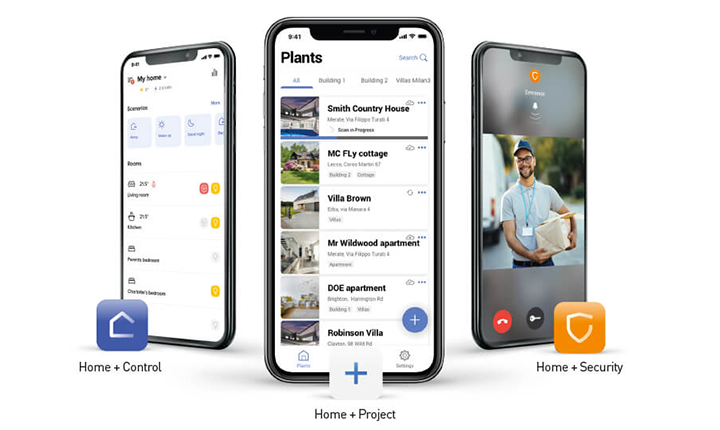
Would you like an estimate for the installation of a Smart electrical system?
It’s simple. Access the Smart Home Configurator in the Tools section of the site. With just a few clicks you can:
- create your home (one, two or three bedroom apartment, attic/home, penthouse/large villa)
- select systems (Motive power and services, lights, shutters, ...)
- customise the functions of each system for each room
- customise the ranges (Living Now, Livinglight, Axolute,…)
- customise the material list and get a complete estimate.
The estimate will remain saved in your personal area and will always be available to you.